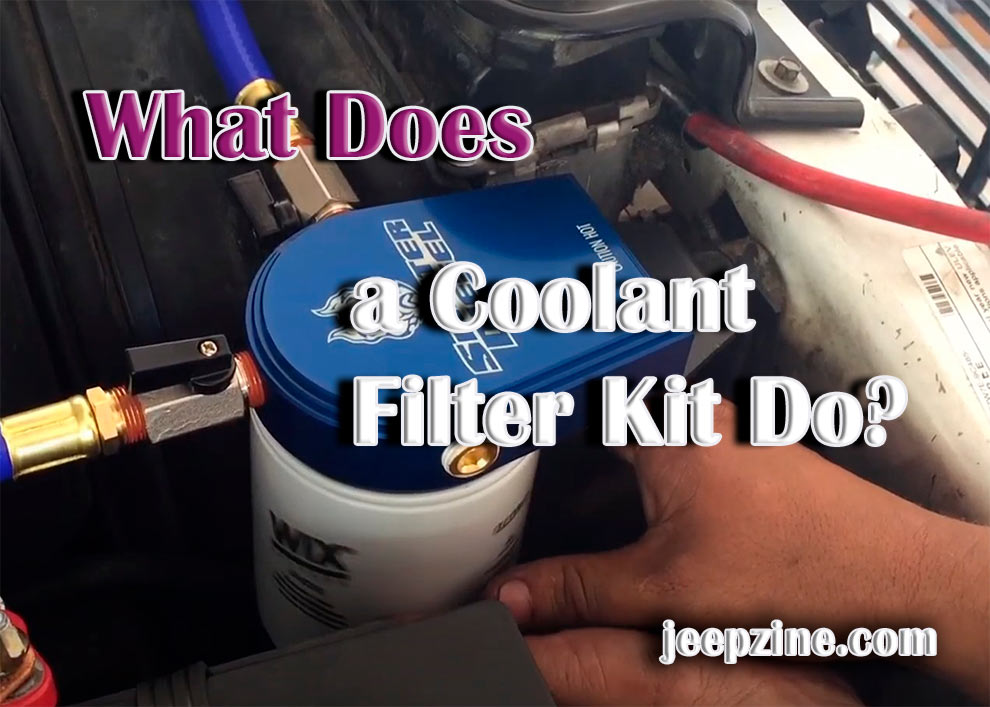
No engine lasts forever – that’s just how it is. Over time, sludge, deposits, rust, and minerals slowly, but steadily ruin it. And, auto shops charge big bucks for fixing that. So, what can the average driver do to counter that? Sometimes, regular coolant changes can do the trick, but this isn’t always a 100% working solution. Well, that’s where coolant filter kits come in.
Available at a very affordable price, they are specifically designed to protect the motor and the coolant system from a long list of contaminants. They have proven their worth in real-world situations and will be a reasonable investment. How do they work, though? How do you set everything up? And is there a universal coolant filter kit that fits all trucks, SUVs, and sedans? Let’s answer all those questions together!
#1: Learning the Basics
According to statistics, 40% of engine failures are caused by the cooling system! When not treated properly, it loses the original properties and does more harm to the motor than good. This is due to the high temps and high velocity that the coolant is forced to work in. When debris/sludge finds its way into the water pump, the engine-block passages, or the actual tank, that can lead to a disaster. Also read what to do when Coolant Light Comes On and Off .
Sand and metal might be a problem as well. Even if you’ve got a brand-new engine powering up your truck, that doesn’t mean there’s nothing to worry about. I’m talking about microscopic particles, like metal shavings, sand (as a leftover from the engineering process), and more that get mixed with the coolant.
#2: What Does the Package Include?
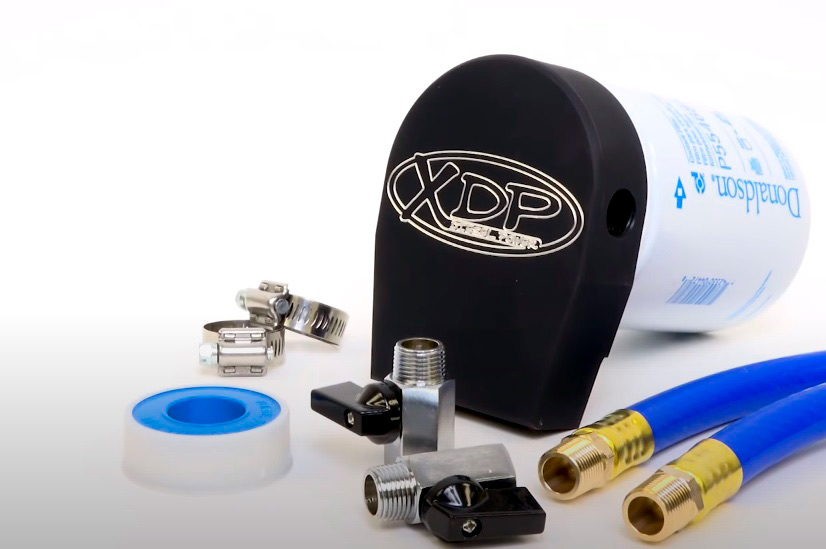
So, what will you get with a coolant filter kit? A standard package includes the actual filter, a filter block, hoses, valves, a set of mounting brackets, and installation hardware. That’s pretty much it. And don’t go cheap: the average price tag on a decent-quality kit is $120-150. I strongly recommend staying away from gear that costs less than 100 bucks. It will still be useful, but won’t do a thorough job of cleaning the coolant.
A quick note: if you want to get maximum results from a coolant filter, make sure it’s compatible with your vehicle. While there are some universal kits that work with a long list of cars/engines, I wouldn’t put my money on that. Ask a staff member to help you with the choice or use the compatibility chart/table if you’re shopping online.
#3: How Does a Coolant Filter Kit Work?
As the name suggests, it cleans the coolant, removing all the contaminants that are slowing everything down and (potentially) causing the engine to overheat. You won’t have to drain the engine oil or do anything crazy like that. The factory coolant will have to be flushed, of course. Other than that, all that’s required to do is to assemble the kit (we’ll talk about that in a moment), connect it properly to the coolant, and let it do its thing.
Yes, in many ways, it’s an autonomous unit and requires very little involvement from the car owner’s side. Once the kit is properly installed, refill the coolant. Next, run the engine for a couple of minutes so that the filter can kick in. Stop the motor, and check for any potential leaks. Put the filter back on, and hit the road! Now, some folks believe that this is a “one-time deal”, but it really isn’t.
The filter needs to be installed and active 24/7 to be able to function properly. And one last thing: depending on your vehicle, driving habits, the area that you live in, and the filter, a replacement will be due once in 3-6K miles. After you remove the filter and empty it, you should see brownish liquid and maybe even tiny particles at the bottom. That means the kit is doing a great job and the coolant system is well-protected.
#4: Handling the Installation
As I mentioned earlier, engine-specific filter kits are the most reliable, effective, and efficient option on the market. So, if you’ve got a 5.7-lit Hemi, a Cummins 5.9, or a Powerstroke, you’ll need to buy different kits. Let’s take a quick look at how you can install a 6.0 Powerstroke coolant filter kit with a limited set of tools. This might take a while, but the actual process is very simple and straightforward. We start by assembling the filtration block.
Grab the ball valves and install them using a regular wrench. The mounting bracket comes next: there’s a spot for it on the rear side of the filter block. The provided bolts + washers will ensure a tight grip. Again, a standard wrench will do. The hoses go into the valves. The filter block needs to be mounted on the left side of the radiator. Once it’s secure, attach the filter. The hose from the filter’s right-hand side, goes into the radiator bleed line.
Splice it in half to make room for the hose. As for the other hose, it should “sit” into the heater core line. Again, cut it in two, and put the hose in-between, creating a bond. Use a screwdriver to secure it with the provided clamps.


Add Comment