As an off-roading vehicle, Jeep’s legendary Wrangler is unmatched. It’s got just the right engine, suspension, set of wheels, and brakes. However, nothing lasts forever, and to make sure the vehicle’s in shape, you’ll need to keep your eye on the gear and devices. Even if you’ve got the best rotors, calipers, or Brake Pads for Jeep Wrangler, over time, they’ll get rusty, wear out, and, most importantly, lose the factory efficiency.
In this post, we’ll talk about replacing faulty brake parts. I’ll take you through the entire process and share a step-by-step guide. Don’t worry: you won’t need expensive, pro-grade tools. Neither will you have to spend an entire day trying to get this done. So, if you’re ready to switch the factory braking system with an aftermarket kit, let’s get to it!
What You’re Gonna Need for This
Before we rush into my guide, it’s important to take a second and talk about what you’ll need for the job. Here’s a full list:
- A jack and jack stands
- Reliable tire irons (a pack of three will do)
- A wrench and a C-clamp
- A pair of sockets
- A hose, a bottle, and a rubber mallet
- A set of gloves to keep your hands safe and clean
- High-quality brake fluid
That’s pretty much it. Obviously, a set of brake rotors, pads, and calipers should also be a part of the package.
Getting Right to it
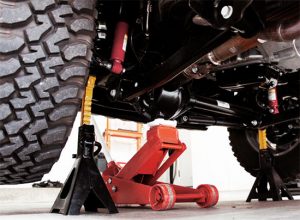
Jacking the Wrangler
First of all, raise the Wrangler. Jack it up and then secure the vehicle with the stands. There are no rights or wrongs here. Just make sure that the height is comfortable for you to work. And make sure that your Jeep is standing on even ground. Because if it’s not, that can be very dangerous! I always try to jack the vehicle from the axle and really close to the actual wheel. This way, it will be much easier to handle the replacement.
Starting with the Caliper and the Pad
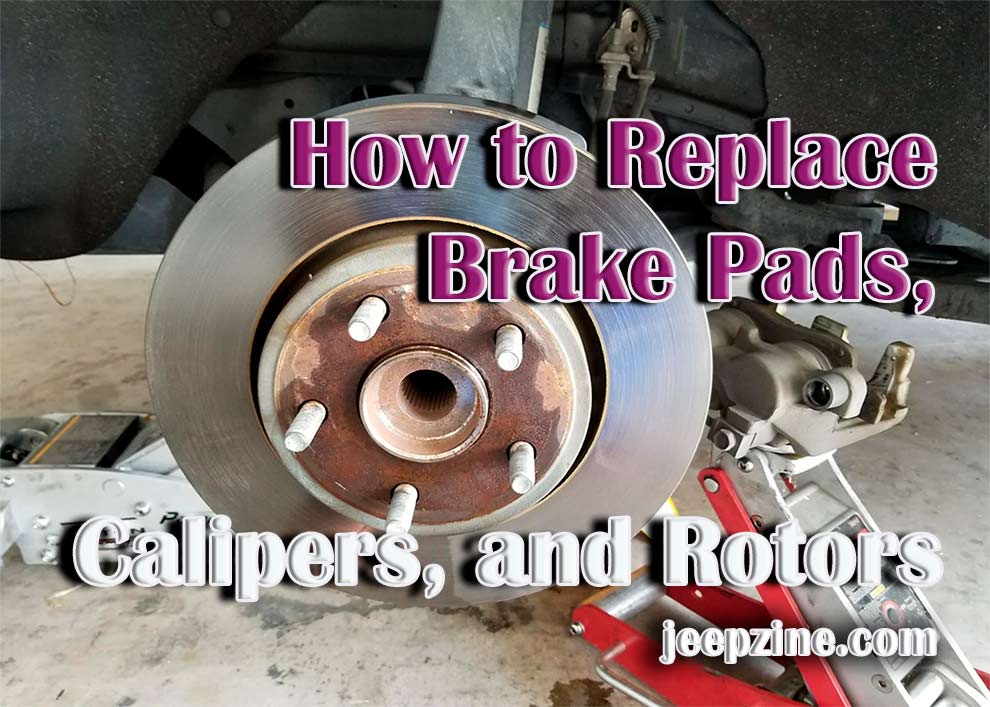
Loosen the lug nuts, remove them, and keep them somewhere close (I use a tiny box for that). Then, remove the actual wheel, leaving the braking system exposed. So, which component should you remove first? The caliper, of course, and you do that using a socket. Pull the bolts out carefully not to damage anything. Now, if you’re only planning on replacing the pads, don’t take the caliper out.
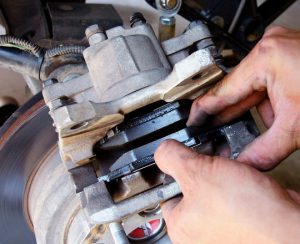
Don’t squeeze it too hard, now, but make sure it’s properly compressed.
Replacing the Caliper
Now, if the caliper is faulty, or if you want the factory braking system completely gone, a new one will be in order. You’ll have to remove the so-called brake line (it will be connected to the old caliper) and “pair” it with the new caliper. And only then move on to the pads, not the other way around. Do everything exactly as we did just now when handling the pads.
Moving on to the Rotor
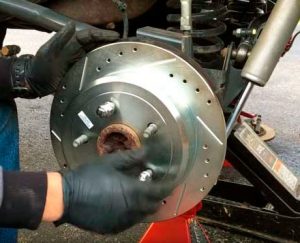
Trust me: you want the braking system to be very secure so that there’s no “wobbling” when driving on rough terrain.
Bleeding the Caliper
This is important: if you’re replacing the caliper, the brakes won’t work properly unless you bleed them. The reason: when air gets into the braking system, it can cause a lot of headaches. I know “bleeding” sounds fancy, but it’s not a very complicated process. Take a good look at the caliper – you should see a screw on the back of it. Install a hose on it (make sure it’s nicely sealed) and put the other end into a bottle.
Ask a buddy to pump the brake pedal and keep it pressed until you say otherwise. Next, just loosen the valve on the caliper and the fluid should be 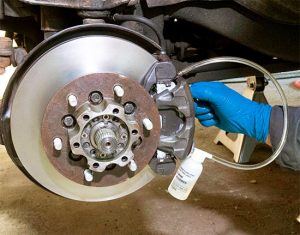
But as soon as that happens, tighten the valve quickly. Oh, and don’t forget to tell the buddy that it’s okay to release the brake pedal. During this process, don’t forget about the brake fluid canisters. They should never get too low on the fluid, because then air might get mixed in, forcing you to do this all over again.
One more thing: when bleeding the whole system, start with the caliper on the passenger’s rear side. Then, move on to the driver’s rear, the passenger’s front, and finish it all with the driver’s front side.
Conclusion
Mechanics and auto shops charge a lot for replacing the braking system. On average, it costs 100-150 US dollars to have one of the components replaced (rotors, pads, or calipers). That’s right: you’ll be looking at 300-500 bucks for the whole thing. So, yes, if you’re confident that you can pull this off on your own, you’ll be saving a lot of money.
This isn’t rocket science, as we already learned today, and the installation process won’t take more than three hours (four hours tops, depending on your skill-set). It’s critical that the brakes work properly, which is why maintenance should always be a part of the routine. If you hear high-pitched noises, a squeaking sound, or feel like the brakes are losing their grip, then it’s time for a replacement. Drive safely, and take care!

Add Comment