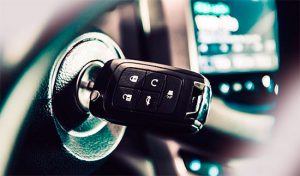
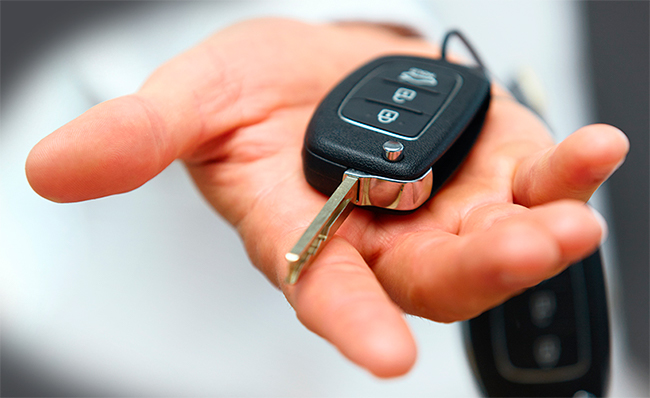
Say, you don’t have a backup copy of your master key. What are the options on the table for you? Well, you can always pay the dealer a visit and ask them to handle it. But, that means the old system will be totally replaced. What if I told you that it’s very much possible to program a new key without even leaving the house? Some entry-level software editing skills will be required, of course.
The good news is – if you follow my guide carefully, you’ll be done in no time. So, let’s go ahead and learn how to program a Ford, Jeep, Honda, or Toyota key without master. That’s right: the brand doesn’t matter. There are differences between different vehicles and model years, of course, but the basics are the same. And now we can start!
Learning the Basics
Did you know that there’s a so-called RFID chip hidden inside of the ignition ring? Well, it is, and it reads the master key’s signal when it’s inserted into the keyhole. Next, it transmits this signal to the ECU. There’s another chip located in the ECU, called EEPROM. It was specifically designed to verify codes. So, if the signal slash code is wrong, the car simply will not start.
This is important: in newer cars, the ECU and the chip are separate from each other. That makes it easier to replace individual components instead of having to deal with the entire thing. You’ll find the EEPROM under the dashboard of your ride. To program a brand-new master key, we start with this chip first.
What we’ll need for the Job
Before we begin, here’s a list of everything you’ll need for the programming to be successful. You might already have some of this stuff and will only need to invest in a couple of extras:
- A working computer (with a serial port)
- A chip programmer (8-pin)
- Any freeware serial device programmer (PonyProg will do)
- Solder and a solder gun
- A screwdriver and a socket wrench (10mm)
- Three Zener diodes (make sure they’re 5volts) and three OHM resistors (4.7K)
If you think that the diodes and resistors will cost you a fortune, I’m happy to disappoint you. A pack of diodes is available for 1-2 US dollars; the same is true for the resistors. A solder gun can be bought for 3-40 bucks.
Getting Connected

Grab the programmer, and let’s connect. There are two ways to go about this. You can either use a chip clip, or soldering wires (to all legs, not just one). Got a stable connection? Good, connect the programmer (AKA the “reader”) to the computer. This is important: before opening the ECU, don’t forget to disconnect the negative cable on your car’s battery to avoid a short circuit.
Resetting the Chip and Re-Programming it
Start the computer and run the serial device programmer. If you followed my lead and installed PonyProg, go to Options – Setup – SI Prog I/O, COM 1, and hit the “Probe” button. Next, select “EEPROM Micro Wire 93C56” and tap on “Read Device” to restart the chip. After you do that, the screen will be taken over by hex code, but don’t let that freak you out.

Once you’re done, select the “Write to EEPROM device key” command (it should be found on the icon bar). If everything goes smoothly (you’ll be welcomed with a “successful overwrite” message), disconnect the computer, the chip programmer, and the ECU. Oh, and don’t forget to put the ECU device back where it belongs. Or, if it’s a newer vehicle, put the EEPROM behind the glove compartment, where it was originally.
Finishing Up
Alright, we’re almost done! All that’s left for us to do is program the new key. Reconnect the negative battery cable and put the key into the ignition ring. The security light should be on right now. Do not turn the key; instead, just wait for the security light to start “blinking”. Is everything happening exactly as I described? Then remove the key and repeat everything with the second transponder key (also known as the backup key).
The security light will still be on (not blinking, but steadily on). That means the programming mode is active, and there’s one last thing we must do. Insert the third transponder key and go through the whole process once again. Keep your eyes on the light: it should start blinking. Give the chip 30 seconds – after that, it will automatically quit the programming mode. So, what’s this third key? It’s your Valet key, of course.
These are usually handed out to parking attendants for, well, parking your car. A valet key can’t access the glove box or the trunk.


Add Comment