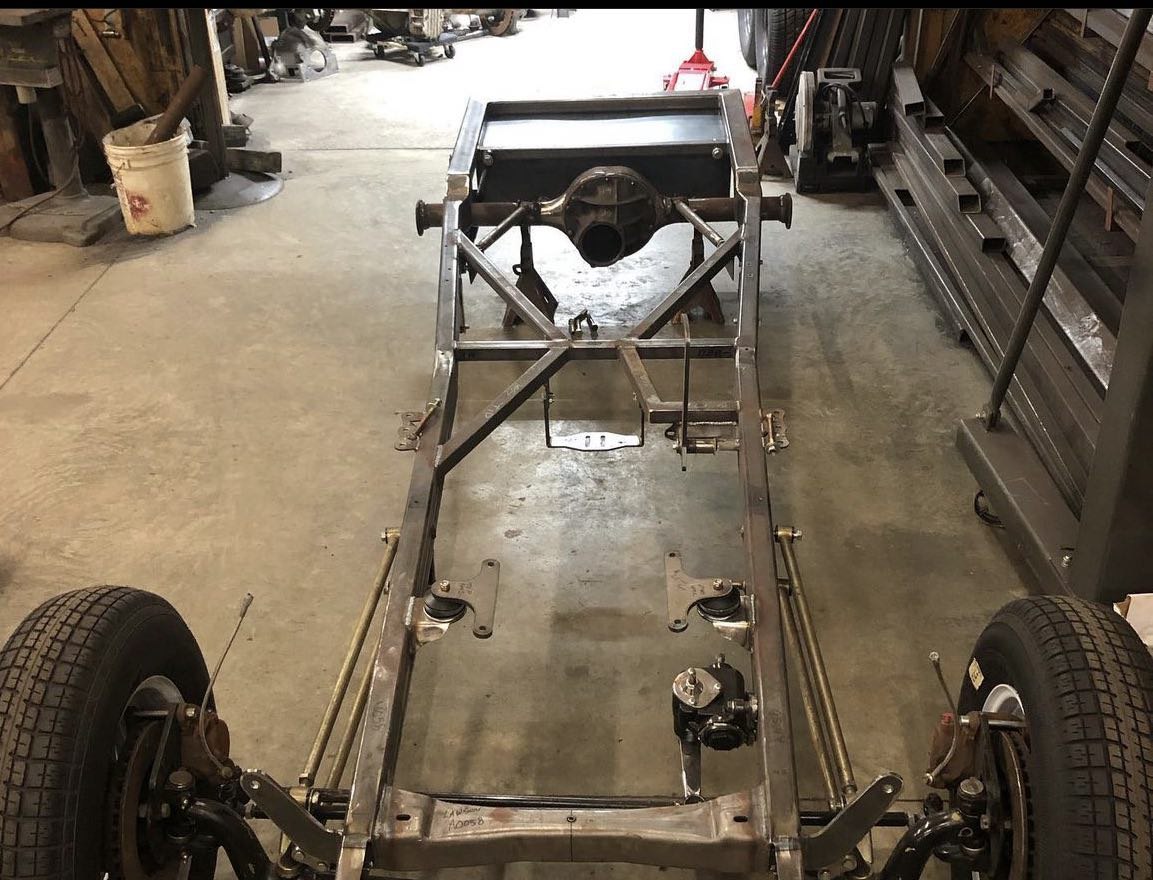
Painting a truck frame might appear challenging, but with the appropriate guidance and materials, it’s genuinely easy. It’s important to ensure all surfaces are properly prepped before beginning and to use the right materials to ensure a professional-looking job. Whether you are a professional auto body shop or an amateur DIY enthusiast, this guide will provide all the information necessary for successfully painting a truck frame. This article will explain how to paint your truck frame in easy-to-follow steps. We’ll cover everything from prepping the surface for paint to selecting the right type of paint and equipment. We’ll also provide tips on how to get the most out of your project for a beautiful, long-lasting finish.
Preparation and Cleaning of the Frame

Primer Application and Sealing
Applying primer is essential in painting a truck frame as it helps create a smooth surface for your paint job and protects against corrosion. For best results, begin by applying two coats of epoxy primer using an aerosol spray gun. Let each layer dry before putting on a new coat of primer; this might take 24 hours, based on the temperature and moisture conditions. After applying two coats of primer, use sandpaper with water or mineral spirits to create a smooth finish before finally sealing with 2k urethane sealer (or equivalent). It will provide additional protection against corrosion while creating a glossy sheen when dried completely.
Choosing the Right Paint for Your Truck Frame
Now that your frame is prepped and primed, it’s time to choose the paint. Choosing the appropriate paint for a truck frame is essential. You’ll need to select a high-quality paint with a strong adhesive that will provide long-lasting protection against the elements. Opt for an acrylic urethane formula for best results, as it provides excellent coverage and durability. Consider if you want to use a single-stage or two-stage system based on the look you wish to achieve. The single-stage system gives you a glossy finish in one application; the two-stage system requires additional priming and topcoating but provides improved glossiness and durability.
Applying Paint and Finishing Touches
Once you have selected the right paint, it’s time to begin applying it. Begin by connecting your paint gun and diluting your paint as per the manufacturer’s guidelines. Once thinned, thoroughly mix the paint with a stirring stick for 1-2 minutes. When ready, spray one or two light coats of paint from approximately 6 inches away from the frame. Let each coat dry for 10 minutes before applying the next layer. To finish touches to your project, consider applying a clear coat for additional protection against weathering and fading. It will also add extra glossiness and depth to your frame’s color. Allow the finish coat to dry for 24 hours before reinstalling all components on the truck frame. Also read here about Car Dashboard Paint.
Conclusion
Painting a truck frame is a detailed and time-consuming process, but with proper preparation and the right materials, it can be done quickly and easily. Following the detailed instructions in this article, you can achieve professional-looking results that will last years. From prepping the frame to applying primer, paint, and any final touches, this guide will ensure your painting project is successful from start to finish. So, get ready to transform your ride with a fresh coat of paint using this comprehensive how-to guide on painting a truck frame!

