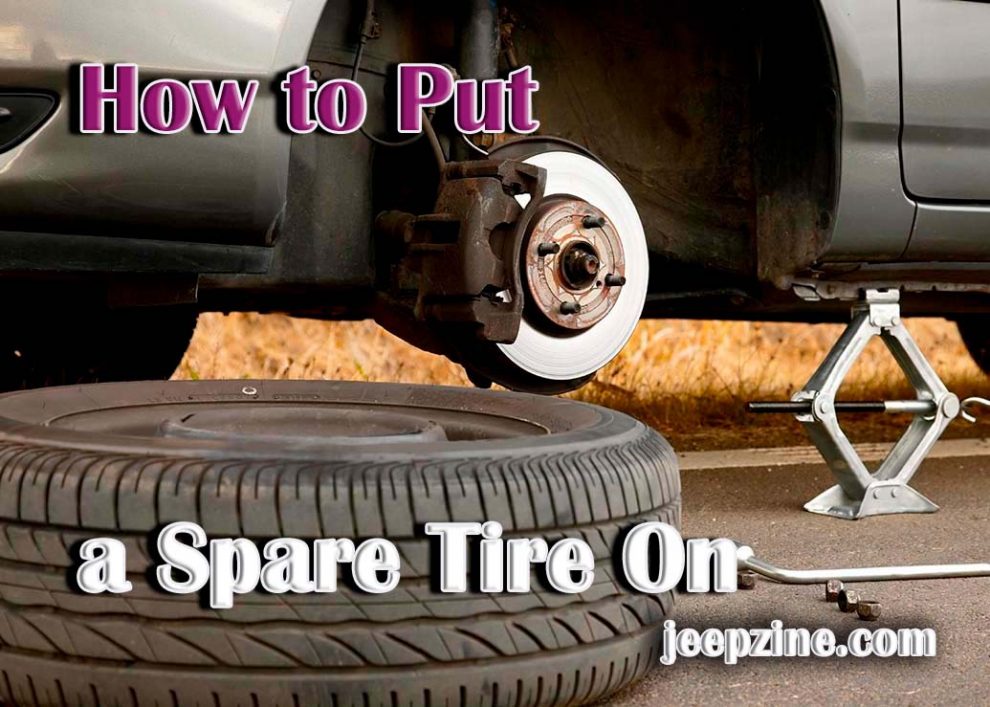
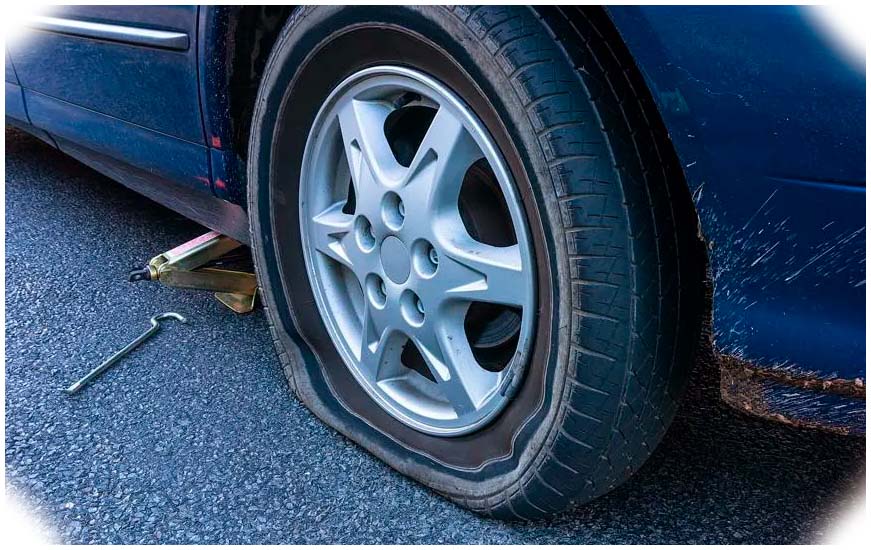
No one ever wants to experience a flat tire, but it is inevitable. If you find yourself stranded with a flat tire on the side of the road, having a spare on hand and knowing how to correctly install it can be your saving grace. Knowing how to put a spare tire on may seem daunting but with this easy step-by-step guide, you’ll be back up and running in no time. Equipping yourself with additional knowledge on vehicle maintenance, such as comprehending window regulators’ function or understanding the intricacies of your car’s suspension, will not only allow you to solve immediate issues but also proactively prevent potential problems. Empower yourself with this know-how to better navigate your journey on the road.
Preparing Your Car
Before putting on your spare tire, some preparations need to be taken.
-
Locate and Loosen the Wheel Nuts: Before you begin jack-up your car, you will need to locate the wheel nuts holding the wheel in place. Use your lug wrench or socket wrench (depending on the type of car) to loosen them up – DO NOT remove them yet!
-
Jack Up the Car: Now that you have loosened the wheel nuts, use a jack stand or floor jack (depending on what type of jack comes with your vehicle) to raise the car off its tires about 6 inches from the ground. It is important that before jacking up your car you make sure it is parked securely and set an emergency brake. In addition, remember to place wooden blocks (or other objects) behind the rear tires to prevent your car from rolling back.
-
Remove the Flat Tire: Once your car is elevated, it is time to remove the flat tire. Utilize your wheel wrench or socket wrench (depending on the type of car) and unscrew the rest of the wheel nuts completely off and then take off the tire from its hub.
Installing Your Spare Tire
Now that you have prepped your vehicle, it’s time to install your spare tire.
-
Position the Spare Tire on The Hub: Place the spare tire onto its hub and line up all the wheel nuts with their appropriate holes on each side of the wheel. Hand-tighten each nut before you move on to step B.
-
Tighten the Wheel Nuts: Now that all the nuts are in position, use a lug wrench or socket wrench (depending on the type of car) and tighten them evenly until they are snug but not too tight; otherwise, you may strip them! Repeat this step until each nut has been tightened accordingly and then take a few steps back to double-check that each nut is held firmly in place.
-
Lower and Secure the Vehicle: Once you have finished tightening the wheel nuts, use the jack to lower the car back onto its tires. Fully tighten each wheel again with your lug wrench or socket wrench (depending on the type of car) in a star pattern for even torque distribution. If done correctly, your spare tire should now be successfully installed on your car!
Finishing Touches
Putting on a spare tire is not complete until you have taken care of these finishing touches:
-
Check Air Pressure in Tires: Make sure that the air pressure in all your tires is correct according to the manufacturer specifications for your vehicle – including your newly installed spare tire! This information can usually be found inside the driver’s side door. Use an air pressure gauge to measure and fill up each tire accordingly to ensure optimal performance and safety on the road.
-
Place Flat Tire in Trunk: Put away any tools from before, such as a jack stand or floor jack, lug wrench/socket wrench, etc., and place them back into their respective compartments in the trunk with the flat tire once everything has been checked and tightened up; accordingly, if possible, store any tools used to like these in the car all of the time!
Conclusion
Changing a flat tire may seem like a daunting task but with this easy step-by-step guide, you can rest assured knowing that you can put on a spare tire in no time. Taking the necessary precautions to make sure your car is parked securely, and each step is followed closely will ensure that your spare tire is installed correctly, and you are back on the road quickly and safely. This overall understanding will be an invaluable asset during unexpected situations and in maintaining the longevity of your vehicle, ensuring you are always prepared, and promoting safe driving habits.


 Jack Up the Car: Now that you have loosened the wheel nuts, use a jack stand or floor jack (depending on what type of jack comes with your vehicle) to raise the car off its tires about 6 inches from the ground. It is important that before jacking up your car you make sure it is parked securely and set an emergency brake. In addition, remember to place wooden blocks (or other objects) behind the rear tires to prevent your car from rolling back.
Add Comment